Easy DIY Christmas Gnomes
Affiliate Disclosure: “This post contains affiliate links, which means I receive a small commission, at no extra cost to you, if you make a purchase using those links.”
Have you ever wondered if it is difficult to make a gnome? It is not difficult at all, and since my friend and I decided that gnomes were going to be the theme for our Christmas decoration, I wanted to share with you how to make easy DIY Christmas gnomes, so you can make your own.
The first time I saw a gnome I was hooked for life. They are adorable and there is something magical and whimsical about them. There are several types of materials that you can use, but my favorite is filled socks. I found that the weight gives them stability and the round body, so typical of this craft.
DIY Christmas Gnomes
These Christmas gnomes could be made in just minutes, and they will bring a smile to everybody that sees them. To make these Christmas gnomes you are going to need some supplies. These are the ones I used:
- Christmas socks (body).
- Red socks (hat).
- Yarn (beard and braids).
- Glue (secure nose and hat).
- Mini elastic bands (close the sock and tie braids).
- Rice (body’s filler).
- Skin color fabric (nose).
- Cotton balls (nose).
- Small piece of lace (apron).
- Red ribbon and confetti snowflakes (decorations).
I have the habit of picking different types of materials that complement each other. When I start a project, I normally have a design in my mind, but as I start building up the craft I’m working on, some things don’t work or I decide something different because it looks prettier.
I also have to confess that this time I decided to experiment with different materials and techniques and make a complete handmade gnome to see what happened. I was not very pleased with my choices, but I’ve included tips for better practice for you to follow.
Steps to Make the DIY Christmas Gnomes
The gnomes are made in parts. These are the instructions for the different parts that form the gnomes.
Body
You can make the gnome body in under three minutes, with just a few steps which are these:
- Measure 48 ounces of rice.
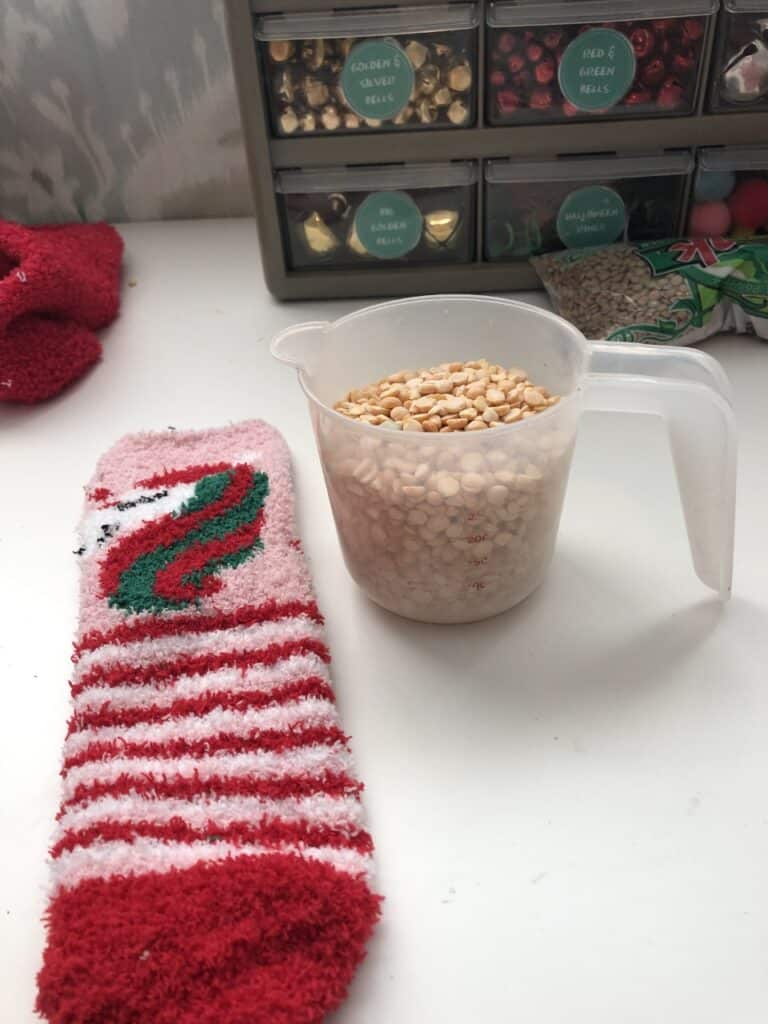
- Fill a cup with rice, place your sock over the cup with rice, and turn it upside down, to fill the sock.
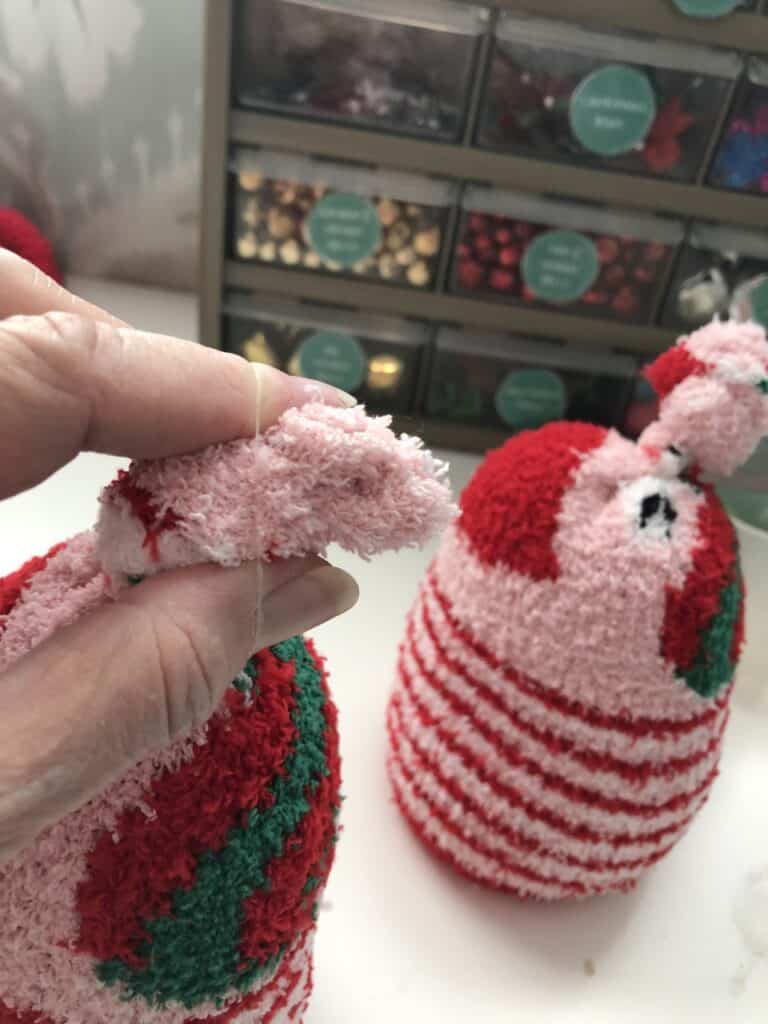
- Tie the top of the rice-filled sock with a knot and elastic band, and a piece of twine or yarn on top to the elastic band for extra security. If you use a long sock, you might need to cut about 1.5” above the elastic band, but you can always keep the extra portion of the sock as a filler for my hat. That’s what I did this time.
Tip: Somebody gave me several pounds of lentils and I decided to try it and filled the sock with that type of grain instead of rice. I won’t recommend it. The body was too soft and I didn’t like how it looked (I will never use this again!).

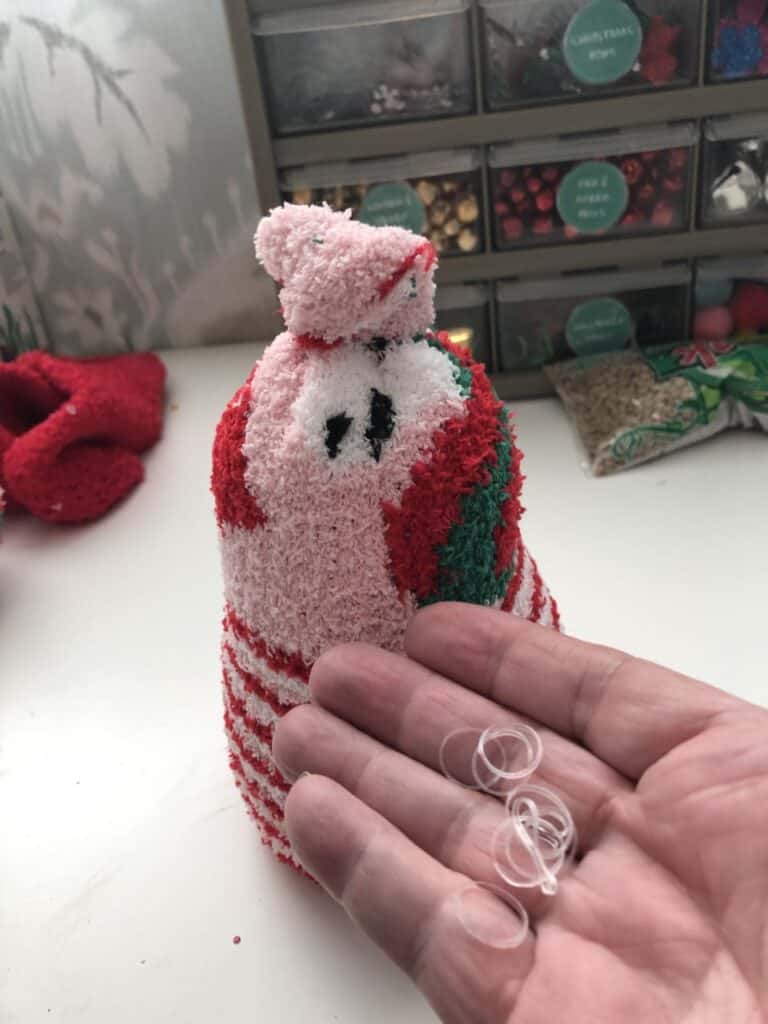
Nose
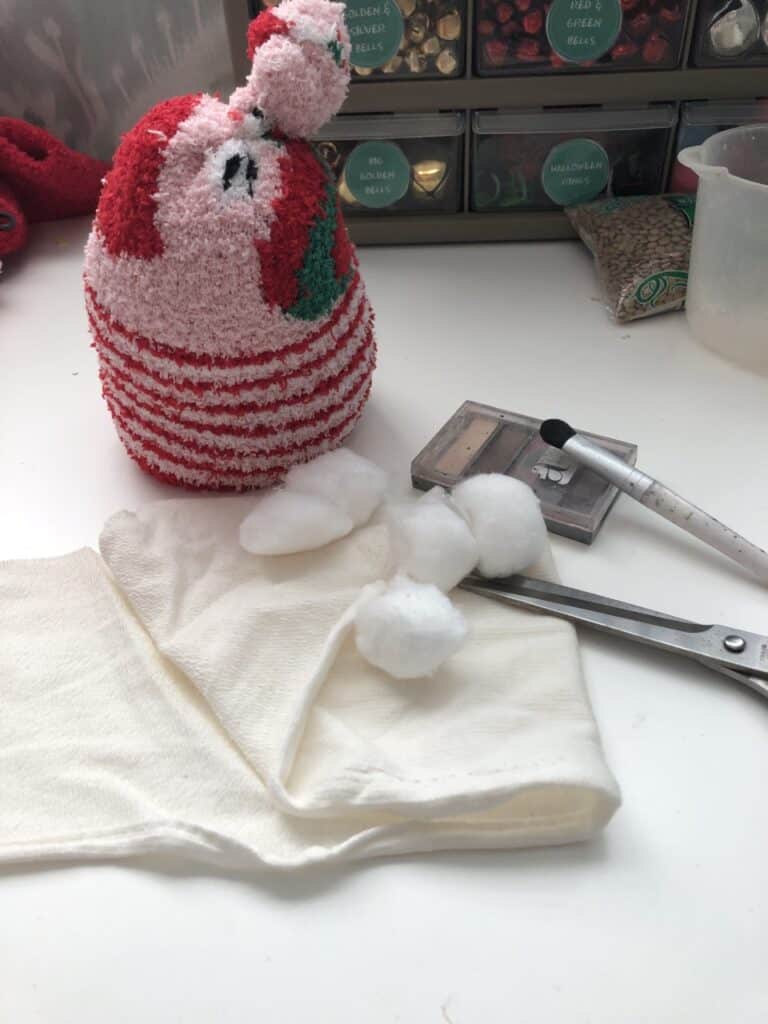
There are a few ways to do the gnome nose. The easiest and maybe prettiest way is using a wooden bead, but, since I like to try new ideas, this time I used a handmade nose. This is how I did it:
- Cut a 3×3-inch piece of skin color fabric.
- Place three cotton balls inside.
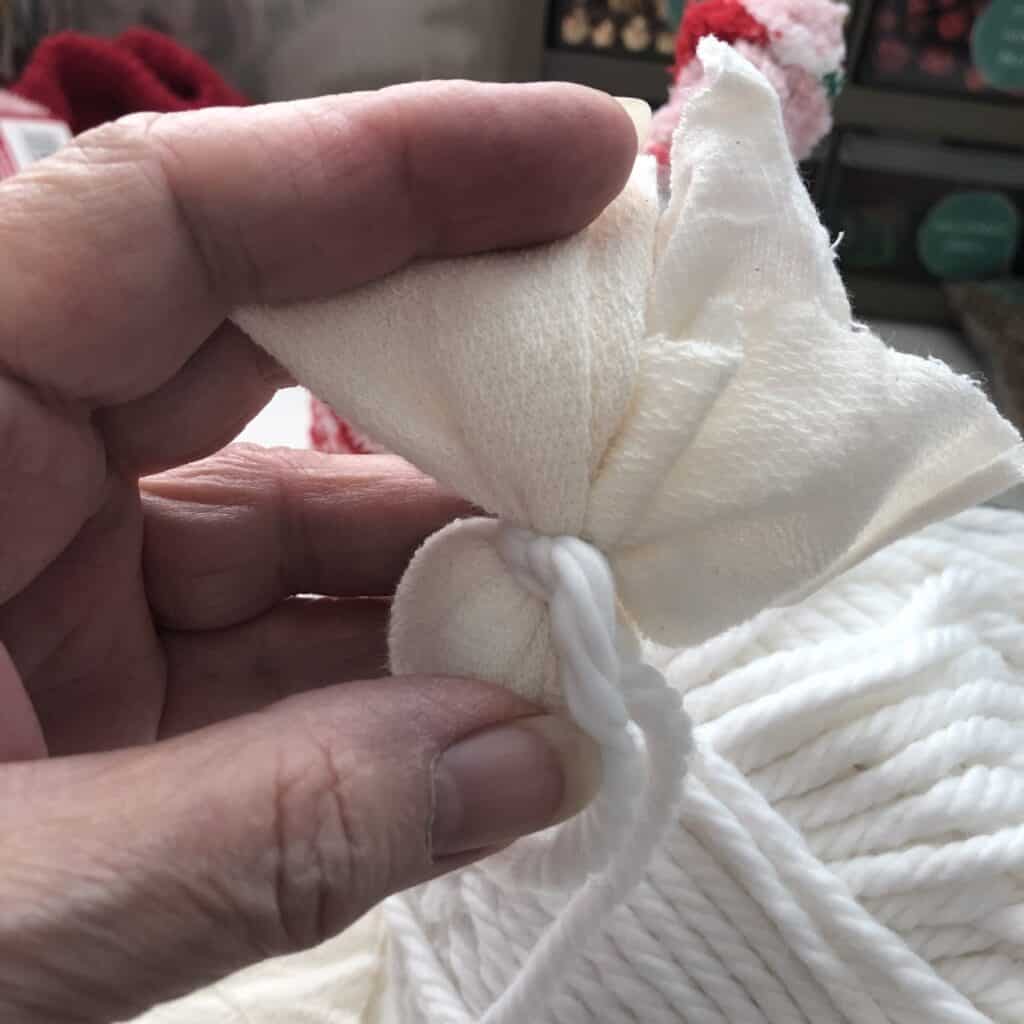
- Tie it with a piece of yarn, and cut the excess.
- Use glue to secure the ends a little better.
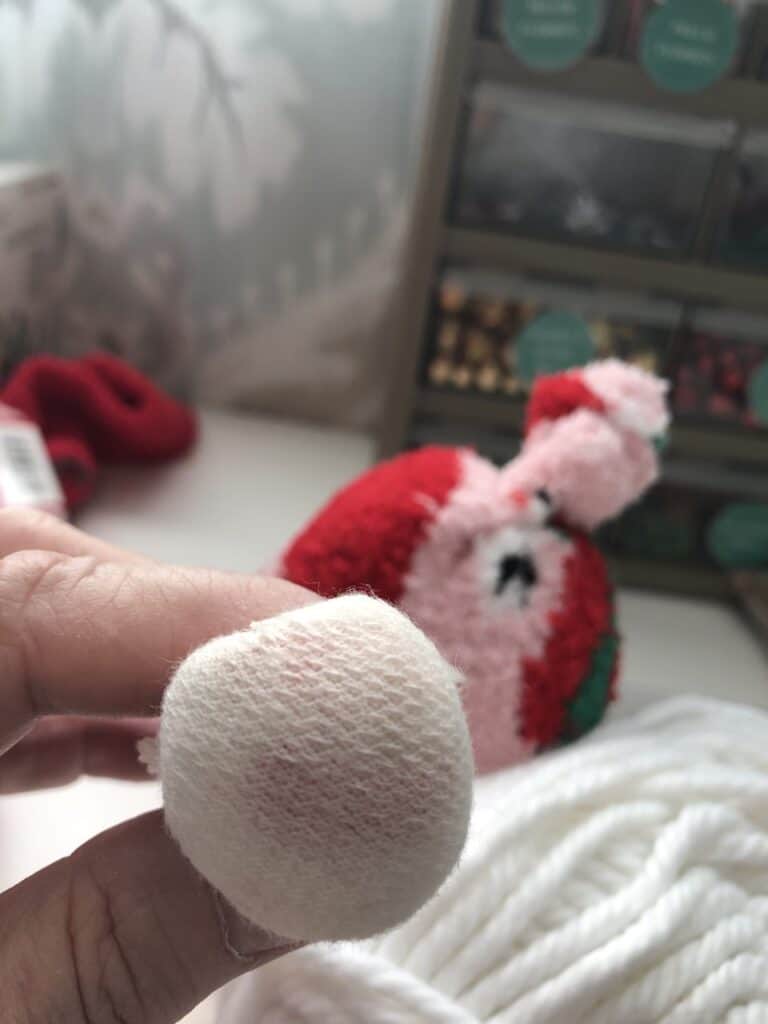
- Use a little bit of pink blush to give the nose a little color.
- Use a strong glue to paste it into the gnome’s body.
Tip: I would recommend using a 1.25-inch wooden bead for the nose. The handmade nose doesn’t look as pretty and it’s not as easy to glue as a wooden bead. You can also make the nose with air-dry clay.
Beard and Braids
Beard:
To make the beard you will need to:
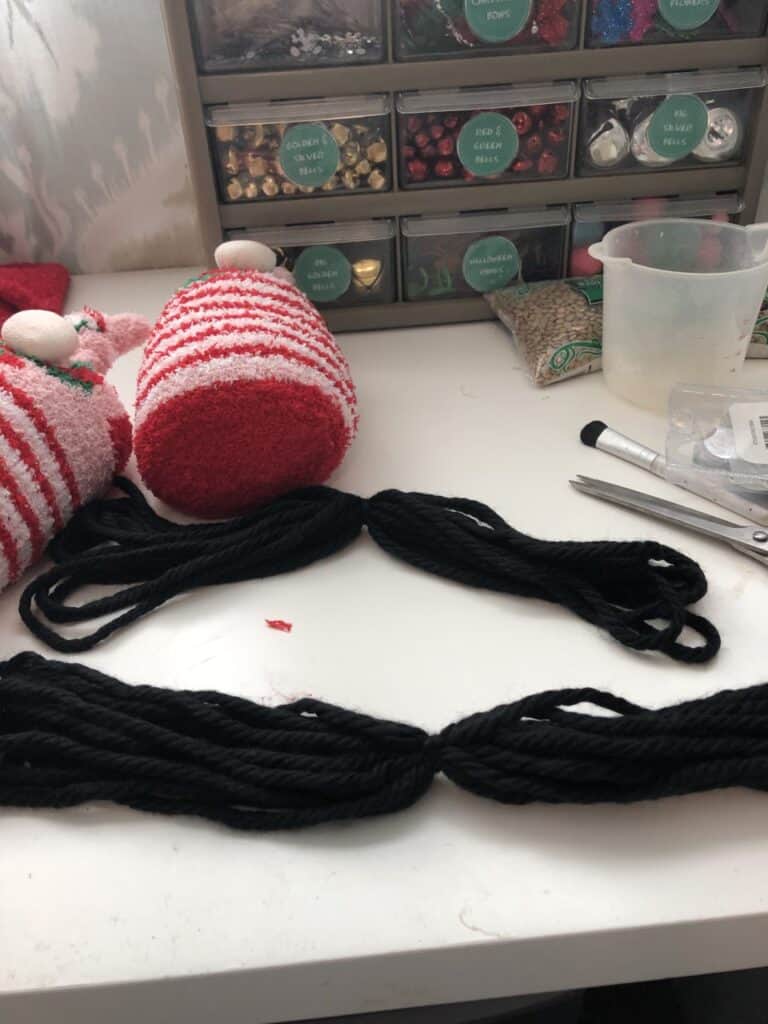
- Measure the black yarn from the nose to the floor and cut several pieces double the size of the first measurement.
- Tie the pieces in the middle with another piece of yarn.
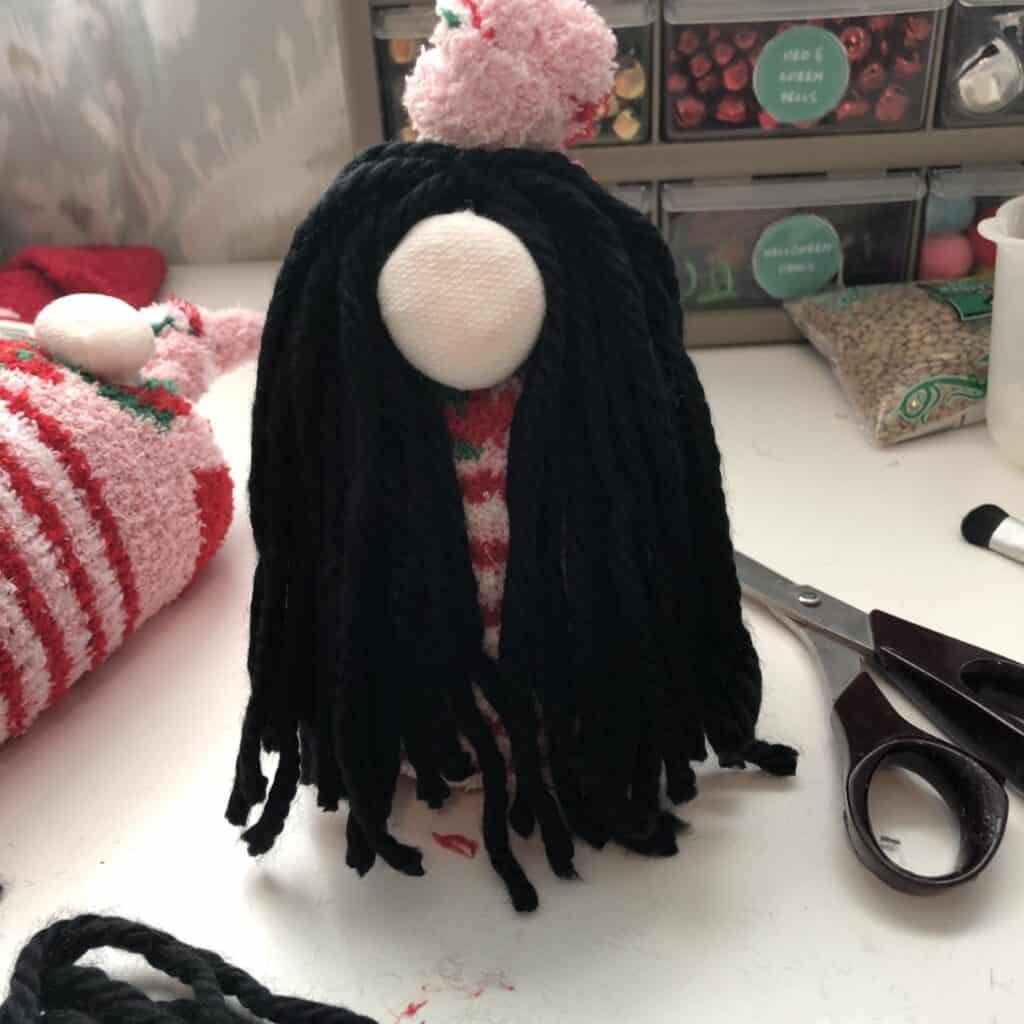
- Glue the beard onto the body, on top of the nose.
- Cut the sides of the beard to give it a triangular shape.
- Separate the yarn strings to make the beard “fluffy”.
Tip: Using faux fur to make the beard is easier and looks prettier, especially if you use Mongolian fur, but it is also expensive.

Braids:
The braids are made pretty much the same way as the beard. These are the steps:
- Measure the yarn from the body’s elastic band to the floor and cut several pieces one and a half the size of the first measurement.
- Tie the pieces in the middle with another piece of yarn, and use the same string to tie the braids on top of the body’s elastic band.
- Braid the yarn and secure the end with a mini elastic band.
- Tie a piece of red ribbon on top of the elastic band and make a bow.
Apron
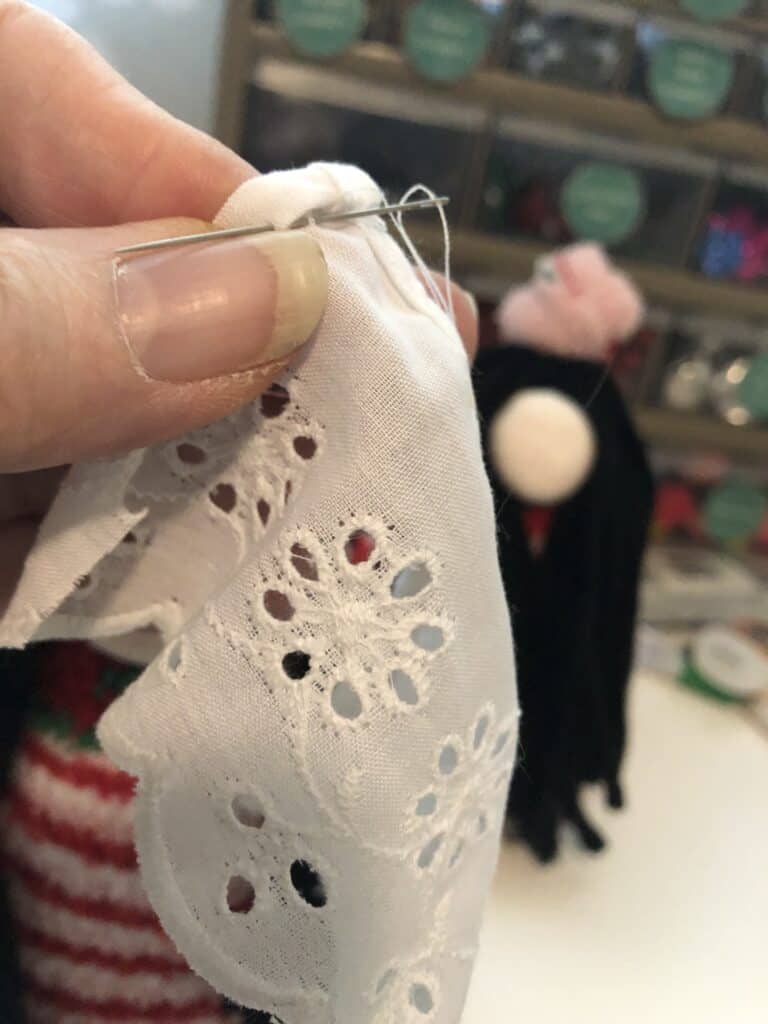
Since it is a common practice during Christmas to bake cookies and cook big meals, I wanted to give my girl gnome an apron, to “protect her dress from all the cooking”. This is what I decided to do:
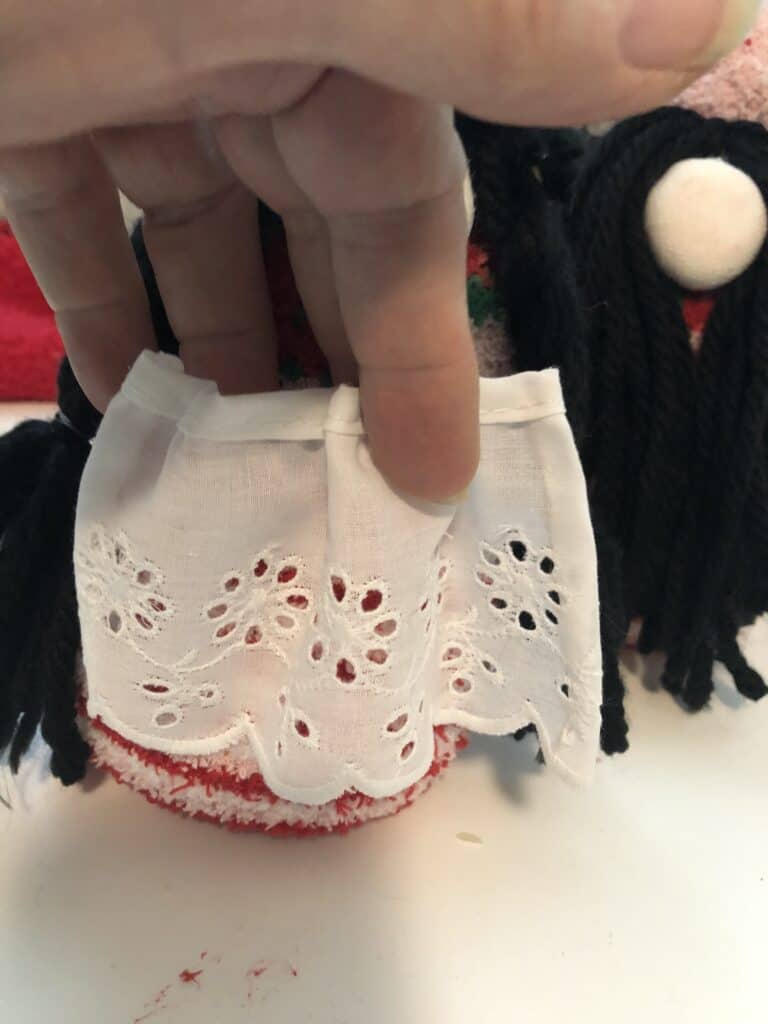
- Cut a piece of lace and sew the edges.
- Glue it to the front of the female gnome.
- Glue a piece of ribbon on top of the apron’s border, and tie it at the gnome’s back with a bow.

Hat
Hats can be made in many ways and using different types of fabric, and other times like this one you can use another sock. This is what I did:
- Place a red sock color on top of the body and slightly above the nose.
- Glue it in place.
- Glue some mini snowflakes in the border to decorate the hat.
Tip: Instead of a sock you can use a cone made out of felt or fabric, and if you want it to stand up, fill it up with cotton or pillow filler.
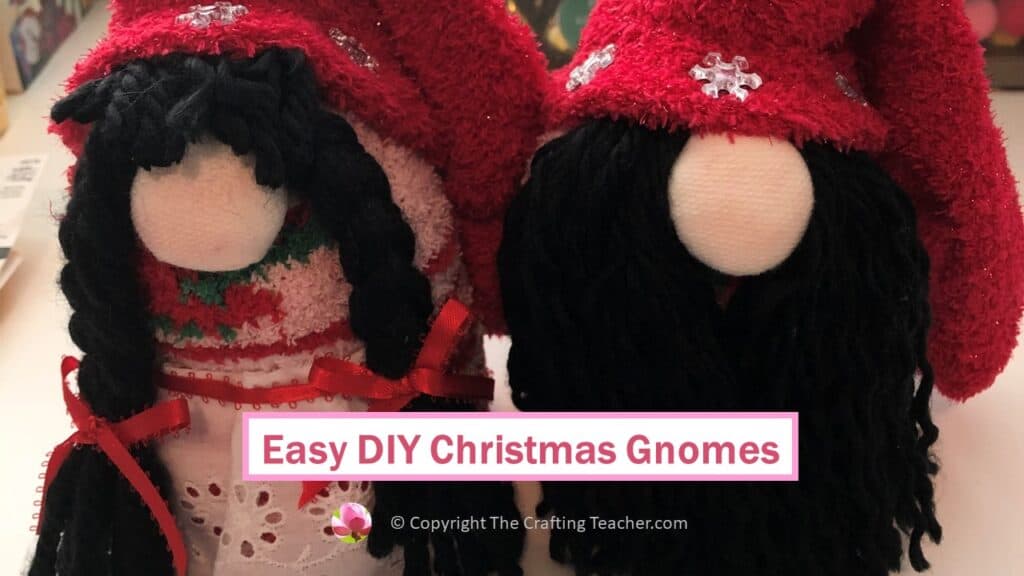
This is how my DIY Christmas gnomes look once finished.
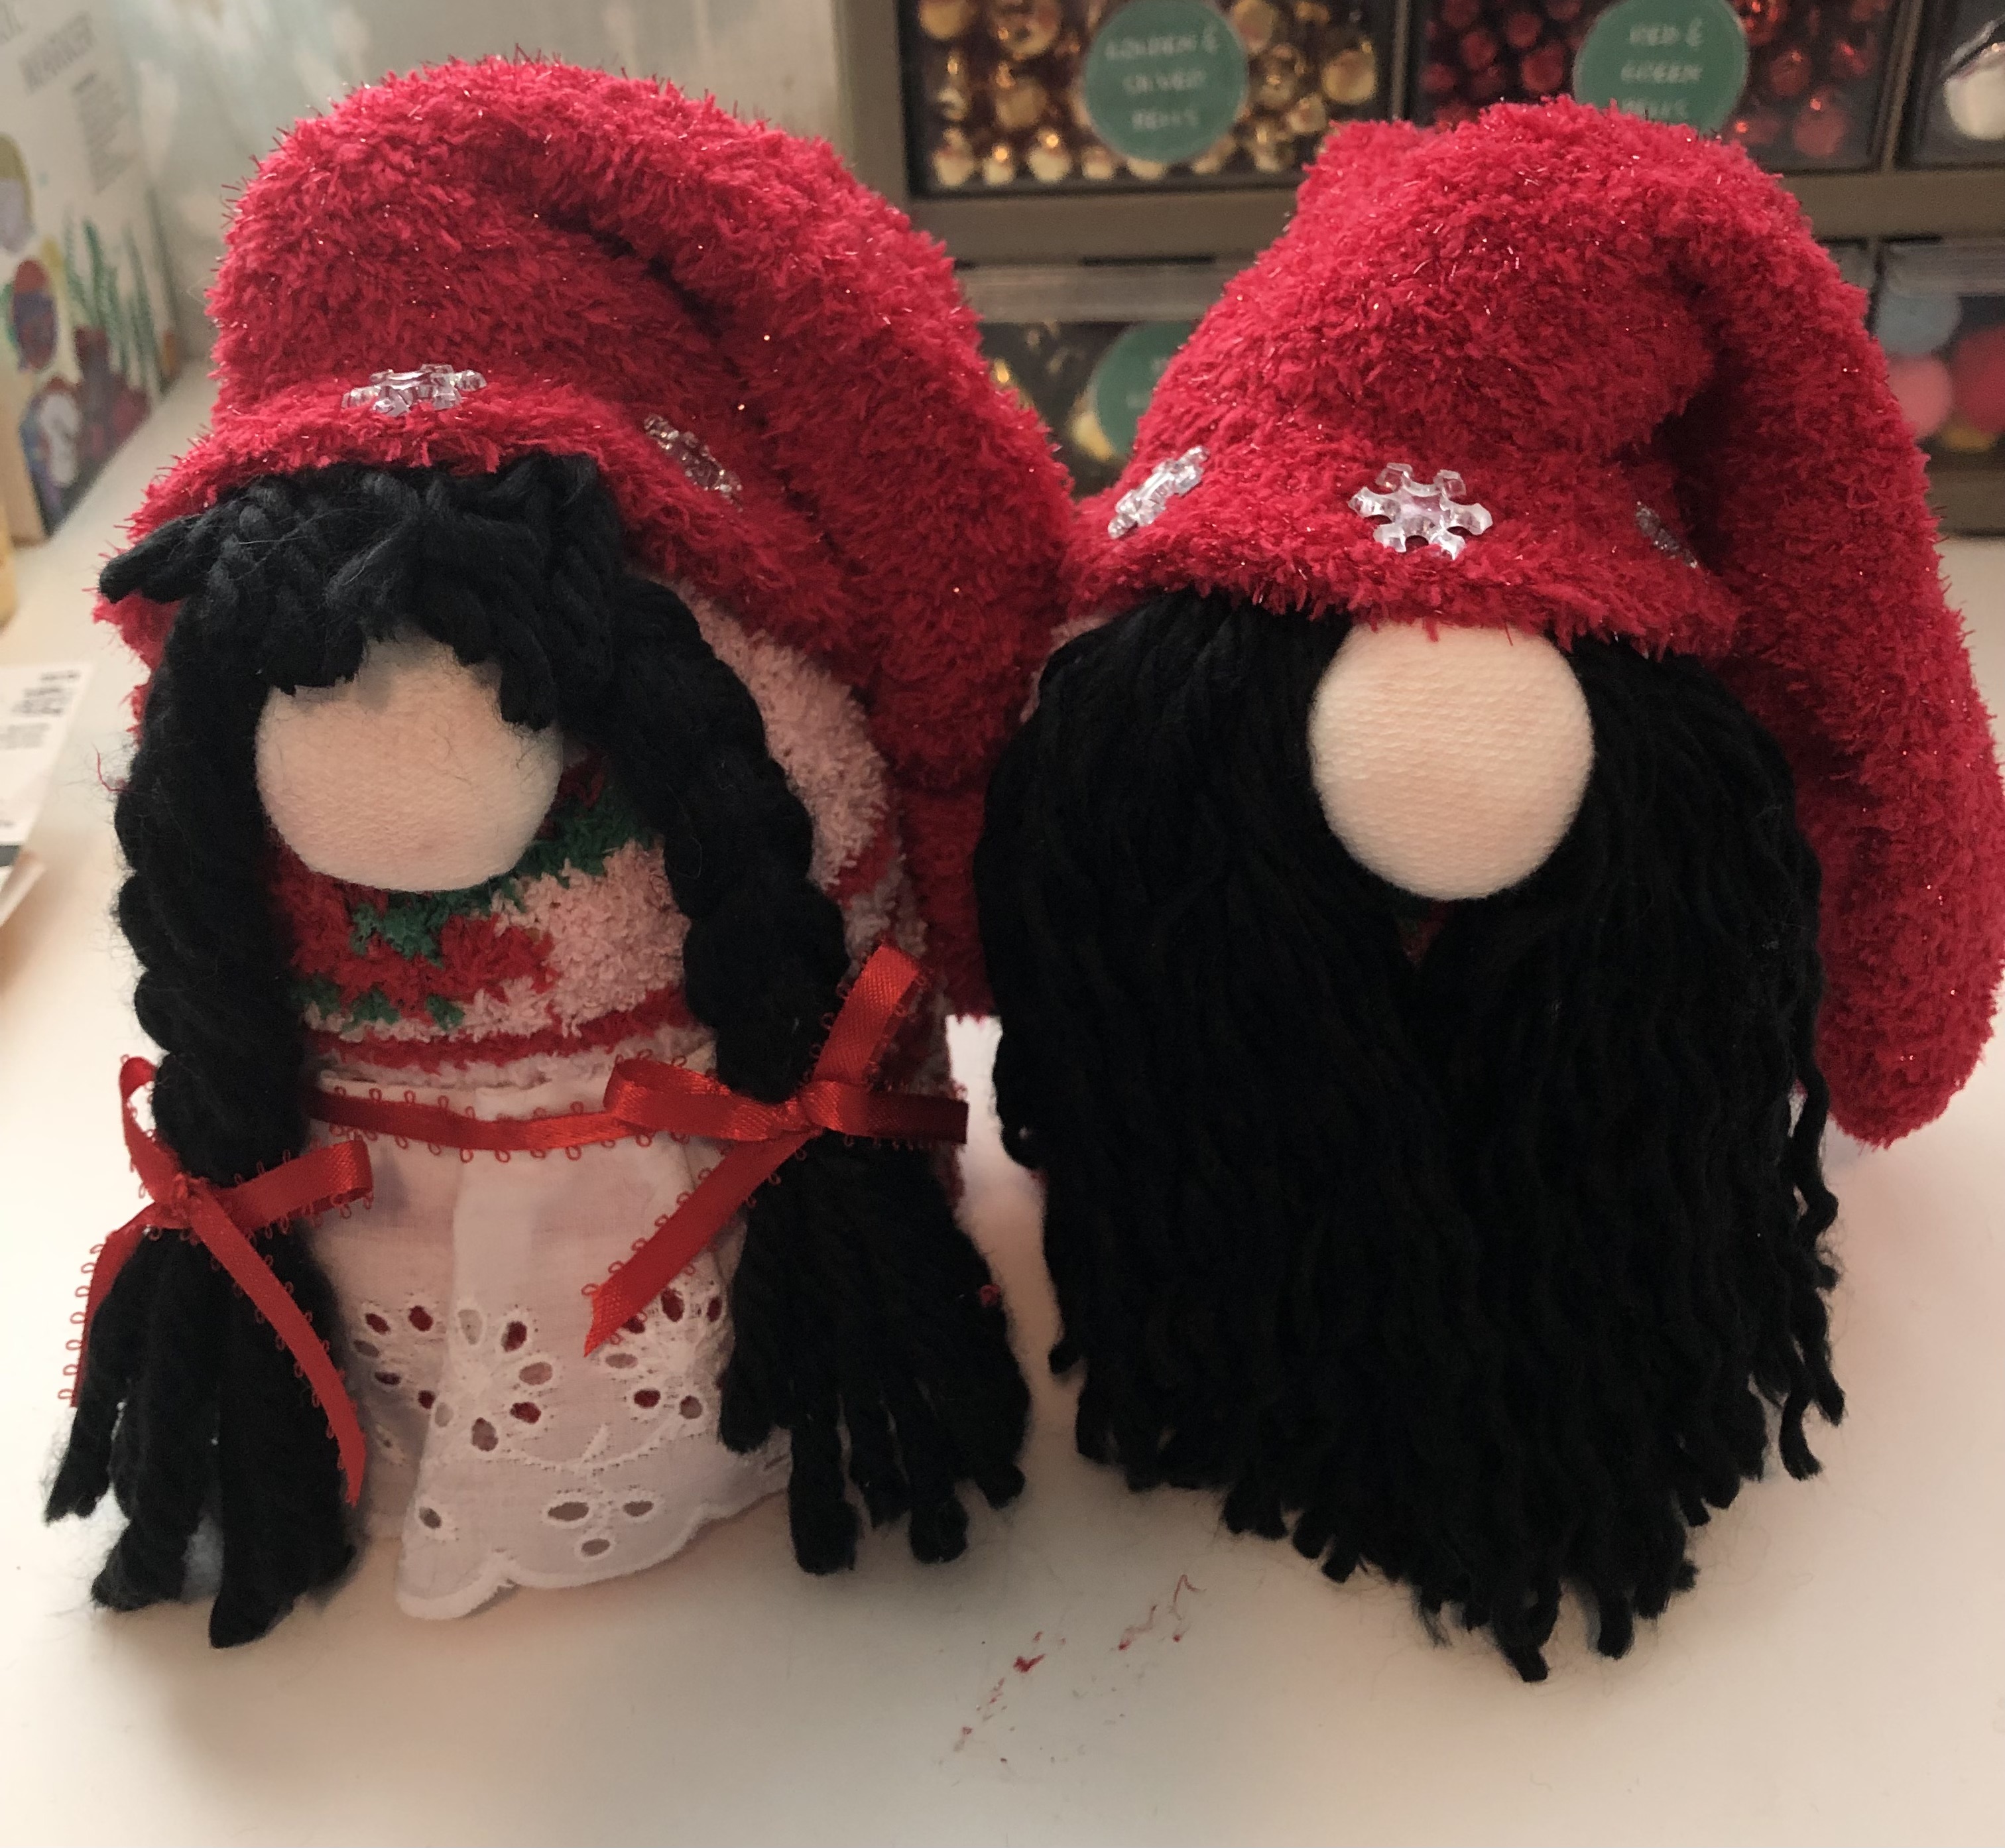
This is one of the easiest and fastest crafts I ever made. I was able to make two pairs of gnomes in less than an hour. The only thing left is to put these gnomes where you are going to enjoy them since they are perfect for your holiday decor.
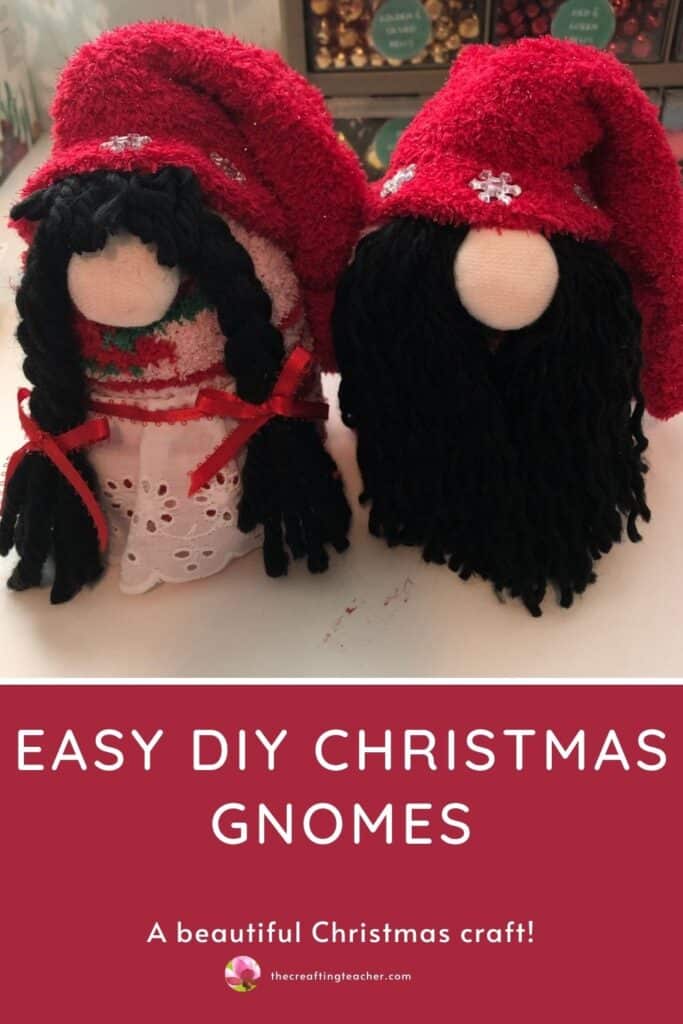
Pin It for Later
If are you in a rush and don’t have time to read the post but want to save it for when you need it, pin it to one of your Pinterest boards for later.
I hope you enjoy these easy DIY Christmas Gnomes and inspire you to make one of your own, and that your holidays are full of blessings for you, your family, and your preschoolers.
Be happy, safe, and creative. I wish you well.
Love,

P.D. Please let me know if you like this craft and if you made it. I would love to see some pictures of your creation.