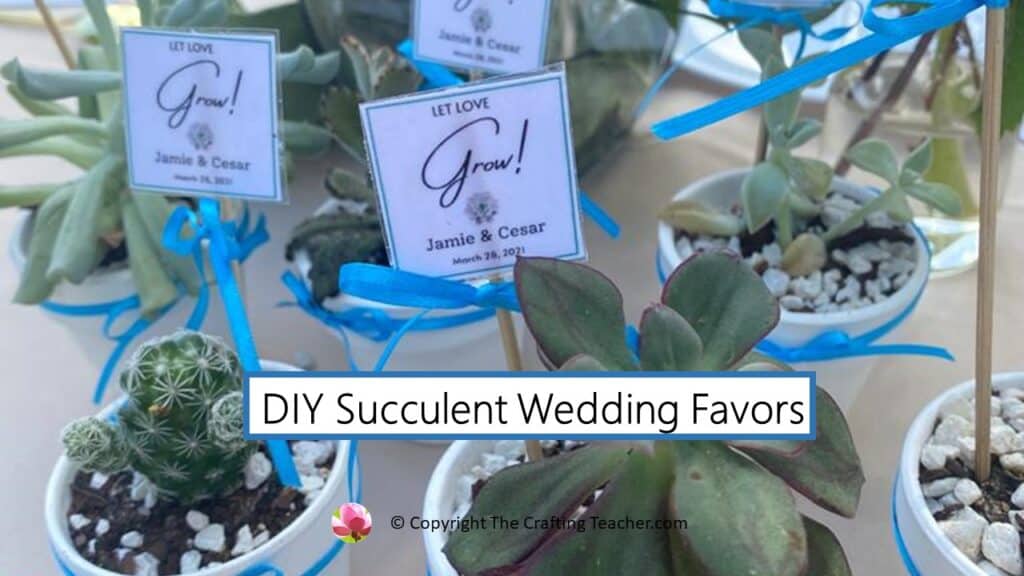
DIY Succulent Wedding Favors
Affiliate Disclosure: “This post contains affiliate links, which means I receive a small commission, at no extra cost to you, if you make a purchase using those links.”
When my daughter got engaged, my brain started planning what I was going to make to give away as a wedding favor, and I decided to make handmade coasters since they were easy to transport and finish in Colombia, where the wedding was supposed to be last November. Then, the pandemic hit!!
The wedding was postponed to April 2022. In the meantime, they decided to have their legal marriage in March. Yes! Of course, I had to switch gears because there was no way I was going to let my daughter go without wedding favors, even if this wedding was just for the family. So, I decided to make succulent favors, exactly what she wanted for her future wedding in Colombia, but they were impossible to transport.
Today, I want to share what I did and how, and I also created several tags you can download at the end of this post as my gift to you.
These succulent wedding favors are cute and easy to make, even on a larger scale. You’ll just need a few basic supplies that are pretty inexpensive and easy to find, and an idea of how to put it all together.
Better yet, succulents aren’t a throwaway gift because everybody seems to love them, and they are very easy to take care of since they just need a little light and a bit of weekly water.
How I Put My Favors Together
In my case, I just wanted to make 30 wedding favors, so I bought the succulents, soil, paint, and paintbrush at Home Depot. I bought the clay pots at Dollar Tree and the ribbon, the mini stones, and the sticks at Walmart.
Materials needed:
- Succulents
- Succulent soil
- Clay pots
- White gravel
- White paint
- Paintbrush
- Thin ribbon
- Sticks
- Scissors
- Tags (free download at the bottom of the post)
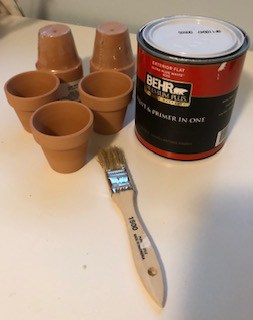
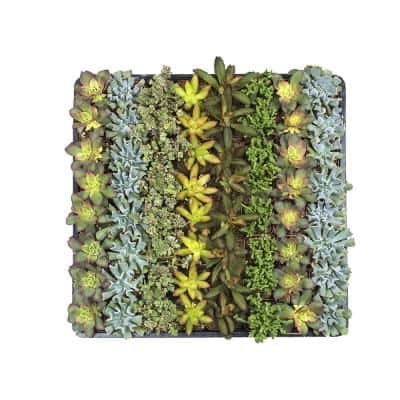
Succulents can be very pricey if you buy them at retail; therefore, if your wedding is big, you will want to buy your succulents in large quantities because you’ll save a lot of money that way.
What I did
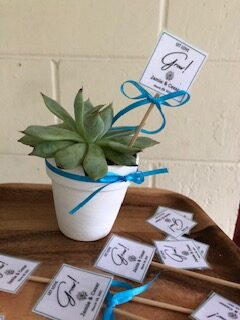
I took each mini clay pot and gave it two coats of white paint using a small brush. When they dried, I tied a thin blue ribbon around the rim, adding a dot of crazy glue on the back to keep it in place.
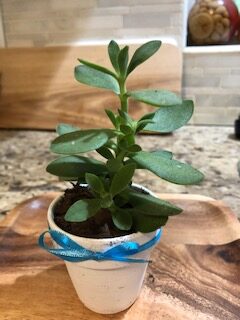
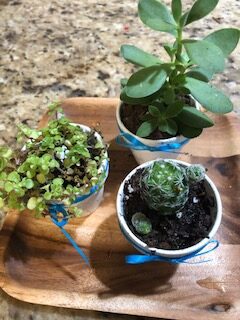
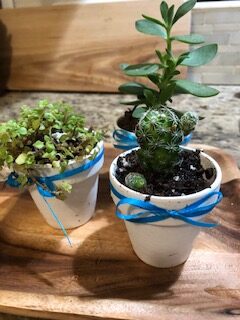
When they were ready, I added a little bit of soil to each pot and transplanted a succulent. Then I added white mini rocks to cover the soil and some water. Since the pots were very small, I used white aquarium pebbles.
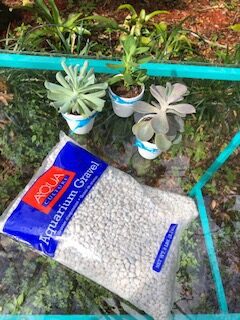
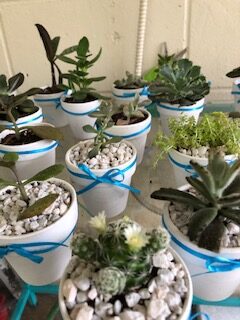
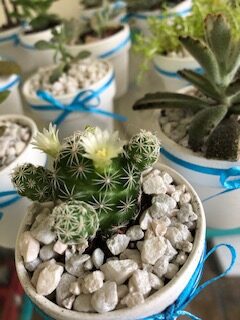
I created the tags on the computer and printed them out on cardstock. Then I laminated them to make sure they don’t get ruined when watering the succulents. I used crazy glue to paste them to the stick and finished them with a bow using the same thin blue ribbon I used on the pots.
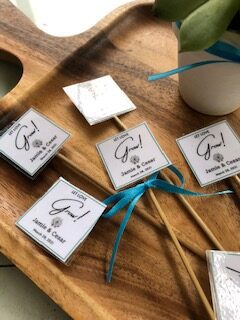
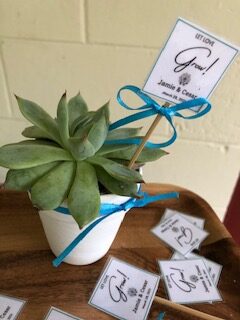
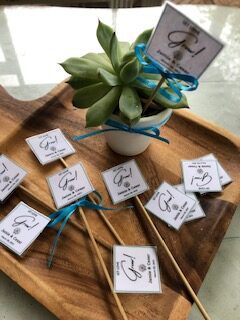
The Remaking Process
Since I live in Tampa and my daughter was getting married in Miami, where she lives, I carefully placed the finished succulent wedding favors in a box, and off we went. When we were turning the corner of our house… disaster struck.
I made the mistake of giving the box to somebody else to put in the car, and I didn’t check. When we left the house and turned the corner, I heard my favors falling. This person placed the box on top of his suitcase, and it fell 5 minutes after we took off.
My heart dropped…. I made him stop, and oh my gosh!!! All my work was destroyed. I had broken plants, soil, and stones all over the box, and the tags were ripped. You can imagine the foul mood I was in for 4 ½ hours, the time it takes to drive from Tampa to Miami.
Of course, when I arrived at my daughter’s house, I had to redo all the favors again. Thankfully, I was able to salvage them (for the most part), and in the end, I was the only one who noticed the differences.
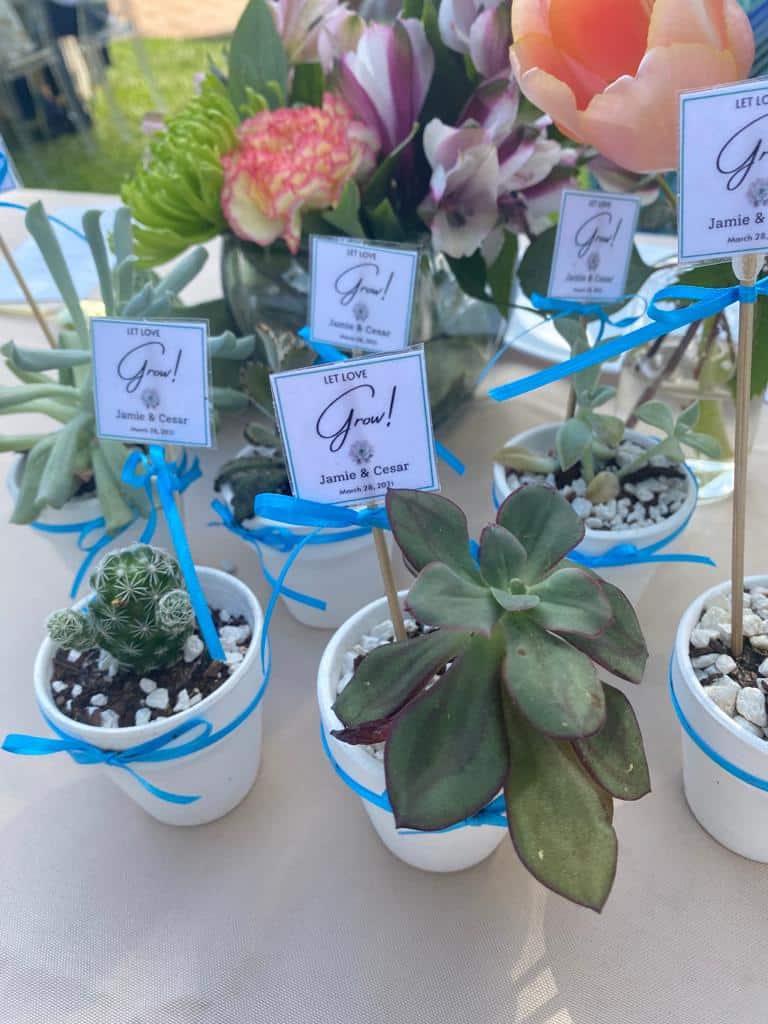
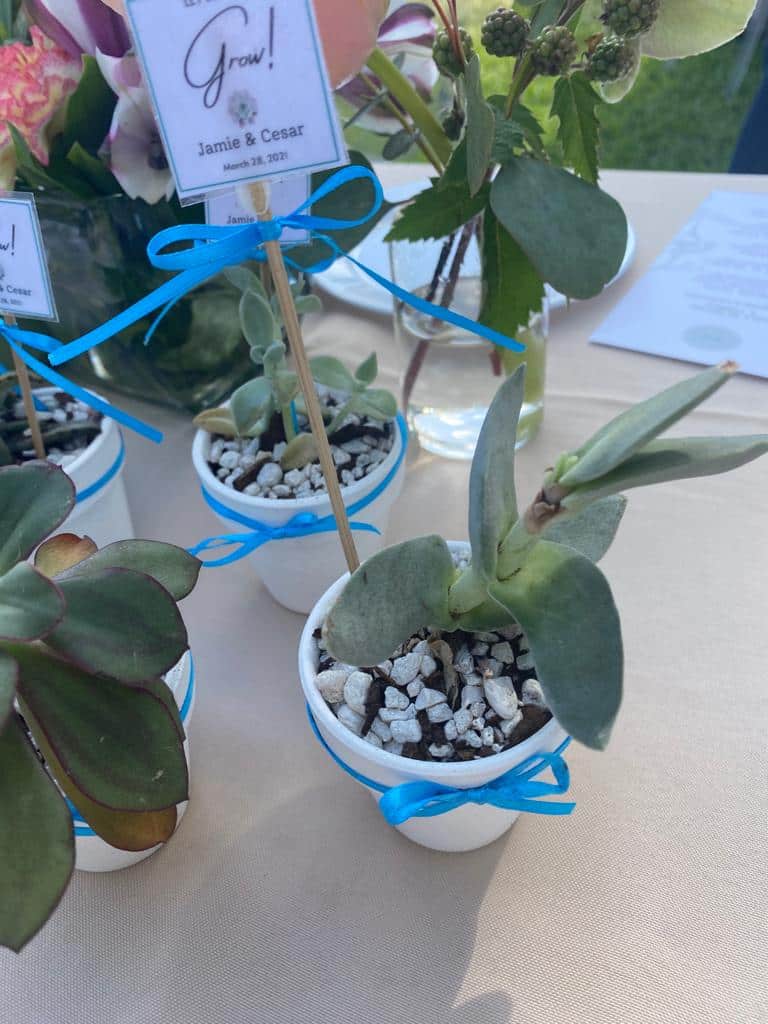
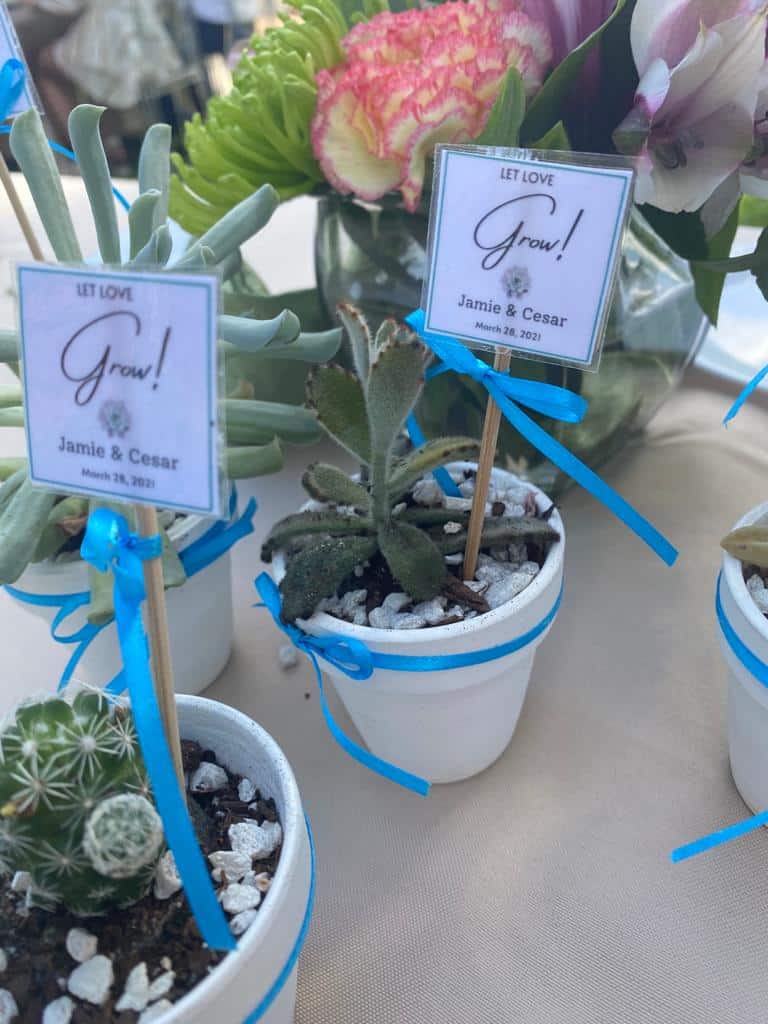
The next day, when we decorated the tables, we placed one potted succulent in front of each guest place. They looked gorgeous. I’m sorry to say that I completely forgot to take pictures of the tables. I was so busy being emotional that I didn’t think about it until it was too late, but I got these pictures to give you an idea of how they looked.
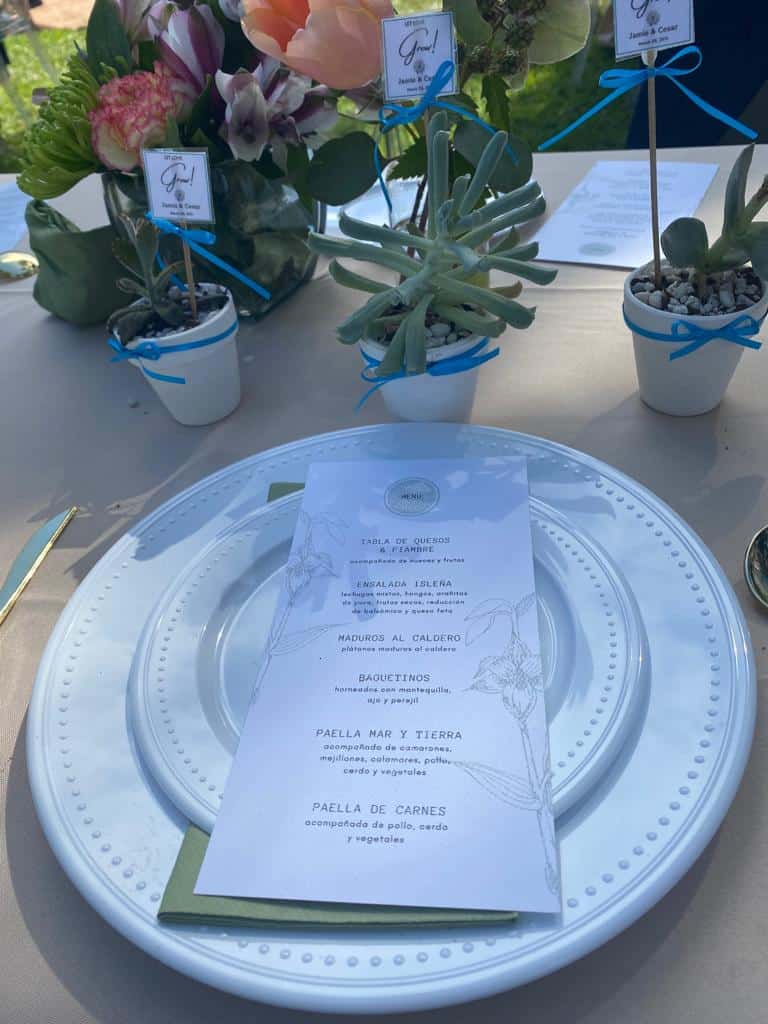
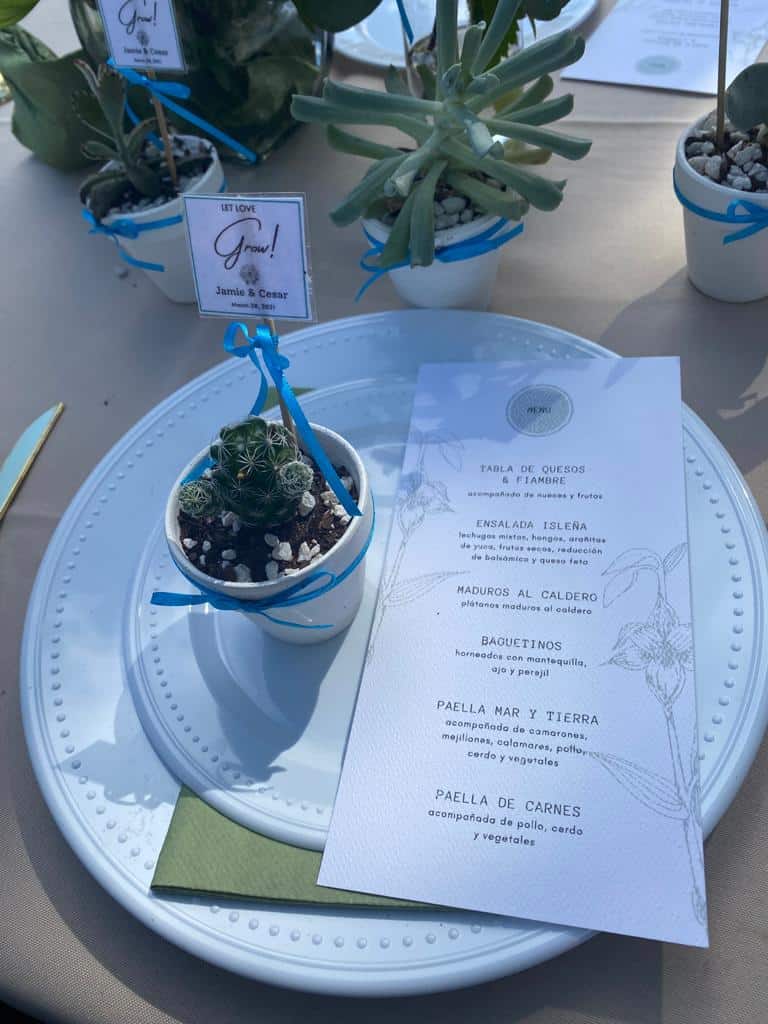
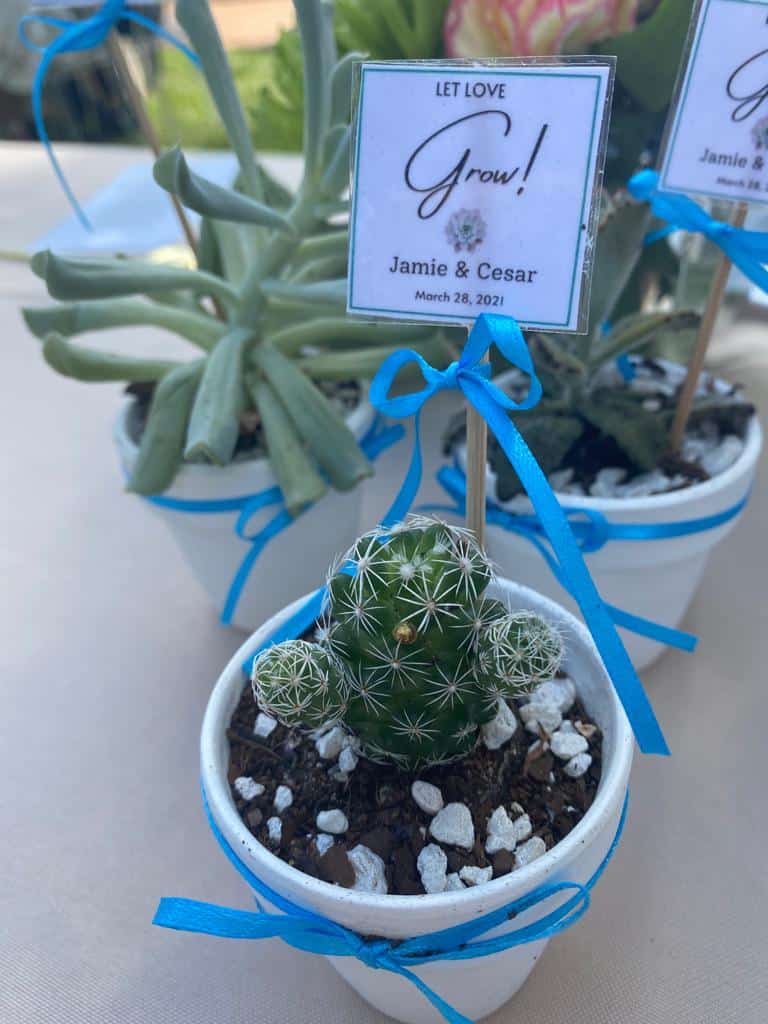
It was a very simple but beautiful ceremony. The tables looked gorgeous; everybody loved the succulents and happily took them home.
At the end of the day, it didn’t matter that the favors didn’t look perfect and that some of them had a little “fender bender”. The important part of the entire day was my daughter’s happiness and the amazing new son who is now part of our family.
I’m inviting you to try creating some of your own. They are perfect not just for a wedding but for a special dinner, a birthday party, a bachelorette party, etc. In other words, anything you might do with love and dedication is good enough for any occasion. I promise everyone will appreciate your effort and the love you put into it.
I hope you have fun trying this idea, and don’t forget to grab your FREE editable favor tags! You will get 8 different tags with different messages. Just add the names and dates.
Be happy, safe, and creative. I wish you well.
Love,

P.S. If you would like to see an article about how to make something specific, please let me know, and I will do my best to write it for you. My goal is to help you in any way I can, and I don’t like anything better than posting something you might find useful.
Other Posts You Might Like: